
Last updated May 2025
Wallpaper lurks behind the bar at hipster watering holes, in the loos of boutique hotels, and in the dining rooms of seemingly every interior decorator on Instagram. This one-time design scourge has surged back into style, thanks both to high-tech printing methods and easier-to-install (and remove) papers. Plus, the stuff is sold in zillions of styles and colors, from verdant forest-scene murals to Andy Warhol portraits of Elvis Presley in neon shades. Here’s how to get rolling, whether you want to DIY or hire an installer.
“Many homeowners immediately think of the messy wallpaper installation and time-consuming removal process of our parents’ day,” said Brittany Ellis, owner of online wallpaper store The Pattern Collective. “This is not the case anymore! With proper wall preparation, such as using a primer specifically for wallpaper, steamers and messy chemical strippers are things of the past. With many of the wallpapers today, removal can be easier than installation.”
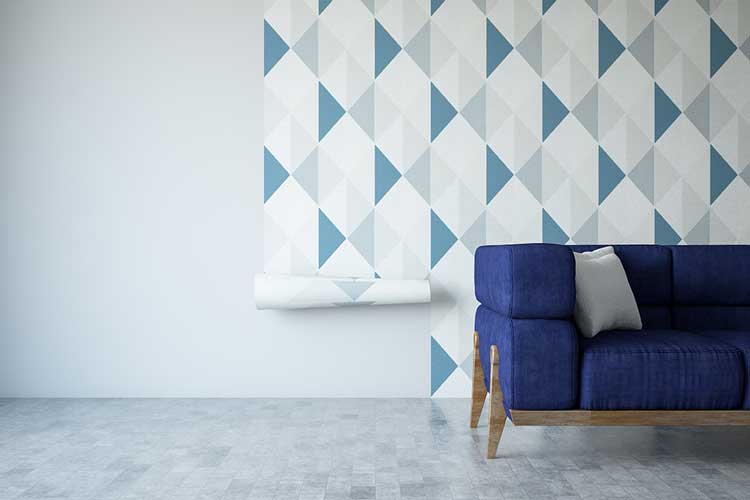
Much like adding a new coat of paint, decking your walls with a punchy floral or a groovy landscape can completely transform a room. Do one accent wall, several bedrooms, or your dining space with indoor clouds, a French floral pattern, or a mural of the Brooklyn Bridge.
Chasing Down the Right Paper
To get started, look through sample books at a local paint and wallpaper shop, or at a home improvement outlet.
“But now you can also see hundreds of patterns on the internet versus flipping through endless books,” said wallpaper installer Michael DiGuiseppe. Sites with oodles of options include Wallpaperdirect, The Pattern Collective, Anthropologie, and DecoratorsBest. All let you filter by price, color, and other categories.
Order samples of a few patterns before committing. Then, as you would with paint, tack options on the wall you’re thinking of bedazzling to see how they look at different times of day and whether they clash with existing furniture or fixtures.
Choosing a color, scale, or pattern is highly subjective, but DiGuiseppe advised that “papers with larger repeats are best for big spaces. Also be mindful of any irregularities in your space: crooked corners or uneven ceiling lines. A stripe or plaid would not be the best choice in that case, as it would highlight those flaws.” Also, know that wallpaper isn’t just for walls. “You can wallpaper the ceiling, line the back of bookshelves, or cover a piece of furniture,” said Ellis.
For bathrooms, kitchens, and other spaces subject to moisture or heavy use, look for scrubbable or contract-grade papers. This means they’re either vinyl made to look like paper (nicer looking than that sounds) or paper infused with polymers, vinyl, or other materials that can withstand shower steam, paw prints, and other daily challenges.
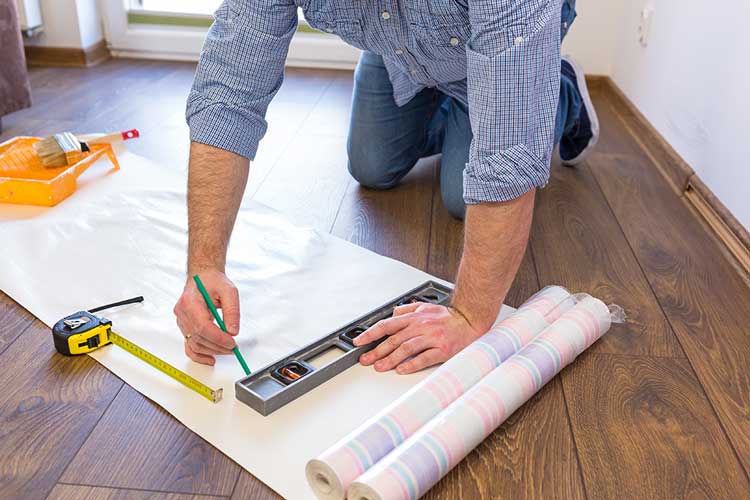
Figure Out How Much to Order
For those of you who are bad with numbers, here’s grim news: To figure out how much paper you need, you’ll have to do some careful math.
Different brands are sold in different increments, depending on where they come from. You’ll get different coverage from a standard-size U.S. double roll (usually 21 inches wide by 33 feet long) than you will from a European one. To further confuse things, some fancy-pants companies sell products by the yard, square foot, or meter. Add in pattern repeat and matching issues, and you might find yourself banging your head against a wall, not covering it in a nice fish print.
If you overestimate how much you need, you can usually return unopened rolls. If you underestimate, you can always order an extra roll and finish the project later. But both tasks are hassles.
DiGuiseppe sends his clients to wikihow.com/estimate-the-amount-of-wallpaper-needed for measuring help. And, of course, if you’re hiring a pro to do the work, ask them how much to buy.
The Cost of a Pretty Wall
The flat, hard truth: Putting up wallpaper will nearly always be more expensive than painting a room. Prices for a double U.S. roll can run anywhere from $25 to over $400 each, though $50–$200 a roll is about average. That double roll will cover approximately 60 square feet, meaning you’ll spend hundreds of dollars just for the five or six rolls needed to redo even a smallish room.
You can save money by opting to wallpaper just the top half of the walls, adding a chair rail (if you don’t already have one) to separate the bare wall below from the paper, a classic look in a dining room.

The Basics of Decking Your Walls
While hanging wallpaper (or even ordering it) might seem easy to DIY, we highly recommend seeking a pro for all but the smallest, simplest jobs. While wallpaper won’t trash your place the way it used to, it’ll still vex your patience.
Whoever does the work will first have to remove any existing wallpaper, then spackle and sand walls until smooth, wipe off remaining dust, and remove outlet and switch covers. Before the wallpaper goes up, coat the walls with primer.
When you’re ready to paper, prep your supplies: a tub of water (if you’re using self-adhesive paper) or a paint dish of wallpaper paste; a sponge or rag; a sharp work knife; a ruler and a surface you can cut on (a large cutting board or a piece of cardboard); and a stepladder to reach high spots.
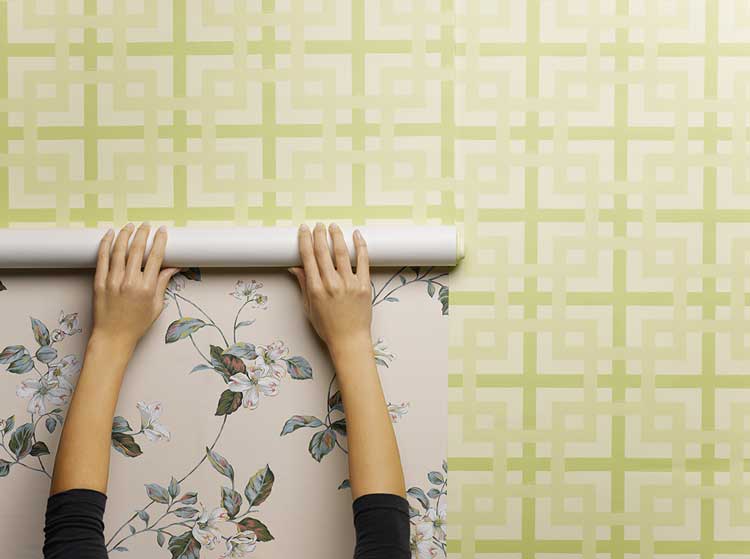
Measure twice, cut once. Just before you get hanging, either submerge your cut self-adhesive panel in water to activate the glue, or apply a thin-but-even coat of wallpaper paste to the unpasted paper.
Fold each end onto itself and set aside while you set up your ladder. Then unfold top half of folded paper, leaving lower half as is. Align the top edge to the ceiling.
You can make small adjustments as you put up the paper. With both self-adhesive paper and pasteable papers, it takes the sticky stuff 15 minutes or so to dry, giving you time to wiggle panels into place. Peel-and-stick varieties work like contact paper, meaning you can remove them and reposition them at least a couple of times.
Once the paper is up, smooth its surface outward with a damp sponge. Unfold the bottom half when ready. Any bubbles you can’t smooth will dissipate as the paper dries. Go easy with the smoothing, so you don’t push out the glue from underneath, or your paper won’t stick to the wall.
Then line up your next sheet, carefully matching patterns. Hang from left to right; then trim any excess paper at the bottom after everything is dry—about three hours.
Carefully use your box cutter to trim edges or cut out holes for outlets.
Hiring a Pro Hanger
Wallpaper is expensive, and while it’s easier to remove and hang than in decades past, you’ll probably live with it for years. So, again: We recommend hiring a professional installer. They’ll save you from ruining expensive paper with clumsy hanging and make quick work of a highly technical specialized job. Expect to pay from $4 to $10 per square foot for installation, depending on the complexity of the job and whom you hire.
As with any service pro, get price quotes from at least three companies. Ask each how much paper you’ll need and for a price to hang it. Ask to see photos of their work and for names of recent clients for references; then contact them.
Many painting operations hang wallpaper, but make sure they have workers with several years’ experience. “Since wallpaper has made such a strong comeback, many contractors and other tradespeople have started adding ‘wallpaper hanger’ to their repertoires without the proper training, which can lead to disaster,” said Ellis.
You can use the website of the Wallcovering Installers Association to locate its members. The association offers training programs; members who complete a series of 10 courses receive a Residential Installation Specialist certificate. But keep in mind that many experienced and skilled workers don’t bother to join or complete coursework.
You can also get recommendations from staff at local wallpaper stores or interior design centers.